×
Search results provided by Azure Search - read how I built it in this post.
Max Melcher

6 minute read

I am trying something new for me: This will be a huge picture post.

Today we have a bridge day in Germany and that means most of my colleagues and clients are taking the day off. Ideal time for me to replace my SharePoint installation and bring it to a new level. Why did I upgrade? Well, lets say I have a fable to try everything new out before customers asks me some questions about it –  and I kinda like shiney new stuff. Hands on, here we go.

Requirements

In this post I show you how to install a small SharePoint 2013 Development Environment in 49 pictures - and a picture is worth a thousand words, right?

You need

  • a virtualization environment with a preconfigured Active Directory (Azure, Hyper-V, VMWare -  I show it with Hyper-V on Windows 8.1 Update 1)
  • the installation images, I got mine from my activeMSDN subscription:
    • Windows Server 2012 R2 with Update (en_windows_server_2012_r2_with_update_x64_dvd_4065220.iso)
    • SQL Server 2014 (en_sql_server_2014_enterprise_edition_x64_dvd_3932700.iso)
    • SharePoint 2013 SP1 (en_sharepoint_server_2013_with_sp1_x64_dvd_3823428)
    • Visual Studio 2013 with Update 2 (en_visual_studio_premium_2013_with_update_2_x86_dvd_4238022)
    • AutoSPInstaller (version 3.96)
  • coffee & internet or some work during the installation.

How to “read” this post?

In this post I intentionally leave a lot out - most of this the “next next next” dialogs during setups or what I consider basic stuff. Sometimes I do not show how to get to a specific dialog - if you are stuck, please drop me a comment.

When you open one picture, you can jump to the next one if you just click on the image. - the description is above it.


Let’ start: Windows Server 2012 R2
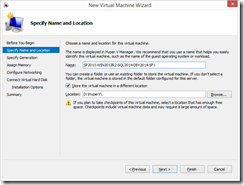
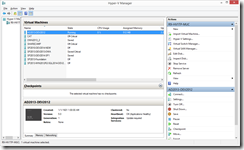
1. Create a new VM - give it a cryptic name so only you understand whats in the box :)

1. Create a new VM - give it a cryptic name so only you understand whats in the box 🙂

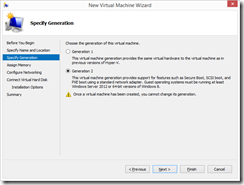
2. Generation 2 has way shorter boot times and is more performant

2. Generation 2 has way shorter boot times and is more performant

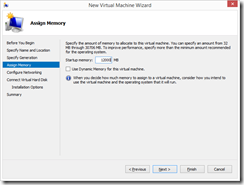
3. Give it as much RAM as you can - I will change it later once I shut down my work VM.

3. Give it as much RAM as you can - I will change it later once I shut down my work VM.

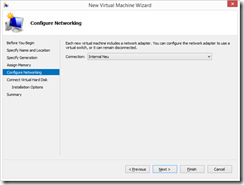
4. You need some network to install those precious windows updates and tools later on

4. You need some network to install those precious windows updates and tools later on

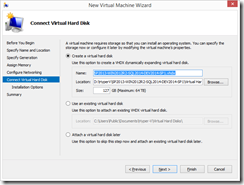
5. Storage: 127GB is good enough, you could extend later on.

5. Storage: 127GB is good enough, you could extend later on.

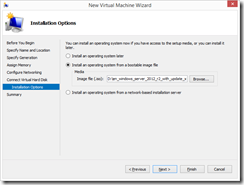
6. Pre-mount the Windows Server 2012 R2 image

6. Pre-mount the Windows Server 2012 R2 image

7. Ready, steady, go! Start the machine.

7. Ready, steady, go! Start the machine.

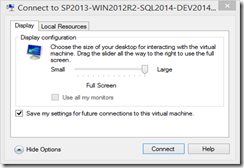
8. Thats new with Generation 2 VMs - Full Screen, copy & paste transfer and much more.

8. Thats new with Generation 2 VMs - Full Screen, copy & paste transfer and much more.

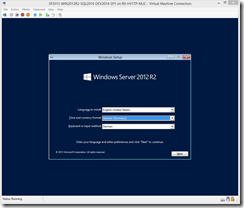
9. Select your language options - I always install English with German keyboard layout so I dont need to break my fingers when I type @ or \
9. Select your language options - I always install English with German keyboard layout so I dont need to break my fingers when I type @ or \

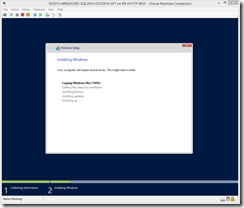
10. Time for the first coffee

10. Time for the first coffee

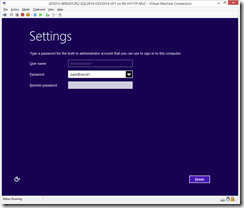
11. I always use pass@word1 as password - don't tell anyone!

11. I always use pass@word1 as password - don't tell anyone!

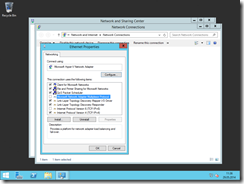
12. Network settings - I disable IPv6 because it complicates things for me.

12. Network settings - I disable IPv6 because it complicates things for me.

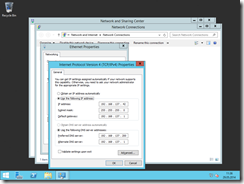
13. With this IP my Internet Connection Sharing does always work - DNS is my Active Directory Server.
13. With this IP my Internet Connection Sharing does always work - DNS is my Active Directory Server.

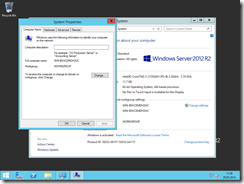
14. Time for the domain join and a decent name. Lets call the server sp2013-2.

14. Time for the domain join and a decent name. Lets call the server sp2013-2.

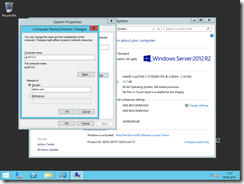
16. Lets try to join my domain "demo.com"

16. Lets try to join my domain "demo.com"

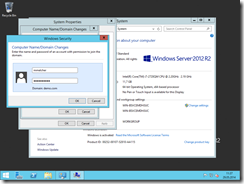
17. A prompt is always a good sign here. Enter Domain Admin credentials.

17. A prompt is always a good sign here. Enter Domain Admin credentials.

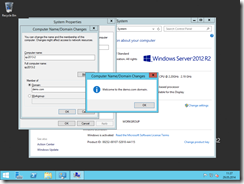
18. Yes! It worked.

18. Yes! It worked.

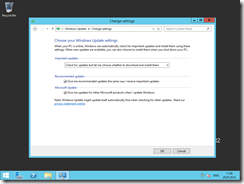
19. Important: Configure Windows Udpates. Because I frequently present, I dont want the updates to be downloaded or installed when I dont want it. Cell usage is quite costly, please ask dear windows!

19. Important: Configure Windows Udpates. Because I frequently present, I dont want the updates to be downloaded or installed when I dont want it. Cell usage is quite costly, please ask dear windows!

Install SQL Server 2014

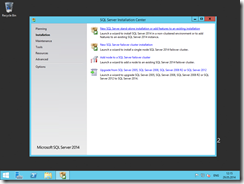
20: Time for SQL Server 2014

20: Time for SQL Server 2014

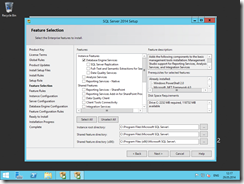
21: Select what you need - for me only 3 checks. Database Engine is obvious.

21: Select what you need - for me only 3 checks. Database Engine is obvious.

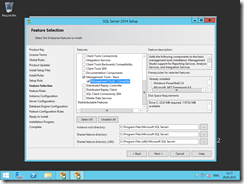
22: Management Studio is important, too.

22: Management Studio is important, too.

23. Lets install - next next next, oh dear!

23. Lets install - next next next, oh dear!

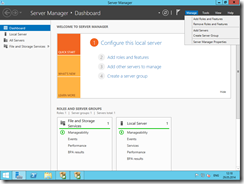
24. Open server manager, top right go to "Add Roles and Features"

24. Open server manager, top right go to "Add Roles and Features"

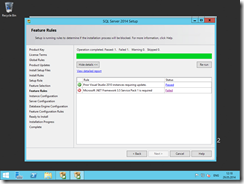
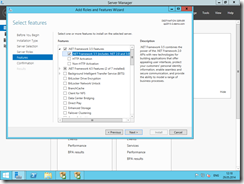
25. Add .NET 3.5 and hit next

25. Add .NET 3.5 and hit next

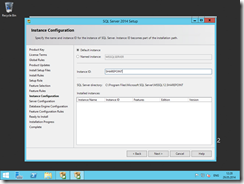
26. I always add a named instance, lets call it SharePoint.

26. I always add a named instance, lets call it SharePoint.

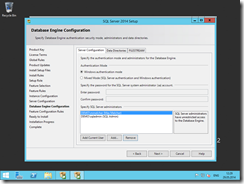
27. Add some users with admin privileges.

27. Add some users with admin privileges.

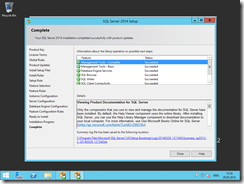
28. Press next and wait until this screen appears. Coffee?

28. Press next and wait until this screen appears. Coffee?

Installing SharePoint 2013 SP1

Please note: you need bundled SP1 to install on Windows Server 2012 R2.
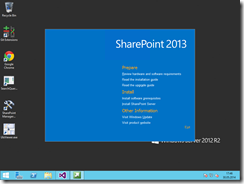
29. Finally - the base is set, lets install SharePoint 2013 SP1.

29. Finally - the base is set, lets install SharePoint 2013 SP1.

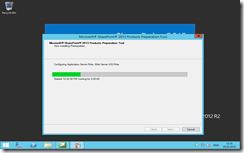
30. I install the PreReqs manually with the GUI - am I old school or what?

30. I install the PreReqs manually with the GUI - am I old school or what?

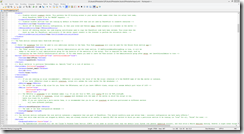
31. Then I configure my AutoSPInstaller File with everything I need: From Search to BCS - with a single WebApp that contains everything (Best Practice)

31. Then I configure my AutoSPInstaller File with everything I need: From Search to BCS - with a single WebApp that contains everything (Best Practice)

You can grab my config file here: AutoSPInstallerInput.xml (just rename the extension and drop it to the AutoSPInstaller SP Folder)
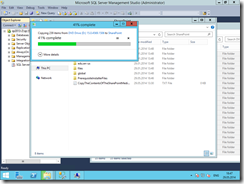
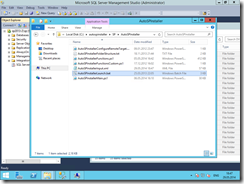
32. Copy the binaries to the SharePoint 2013 folder inside the AutoSPInstaller dir

32. Copy the binaries to the SharePoint 2013 folder inside the AutoSPInstaller dir

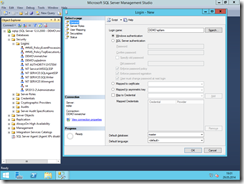
33. The farm user needs some rights - my user is called spfarm
33. The farm user needs some rights - my user is called spfarm

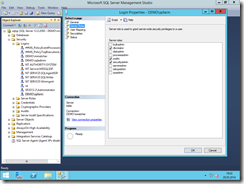
34. Give it DB Creator and Security Admin rights.
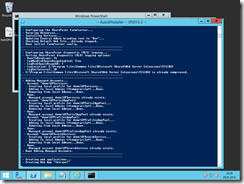
34. Give it DB Creator and Security Admin rights.

35. Hit play or better start the magic AutoSPInstallerLaunch.bat

35. Hit play or better start the magic AutoSPInstallerLaunch.bat

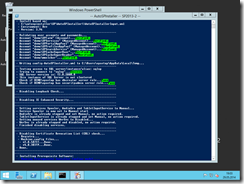
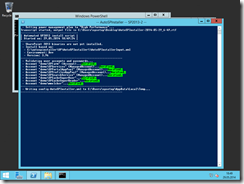
36. Green lines are good lines

36. Green lines are good lines

37. At least no red lines, right?

37. At least no red lines, right?

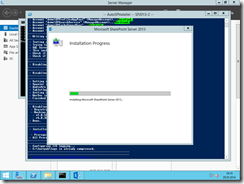
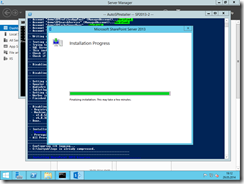
38. A familiar window

38. A familiar window

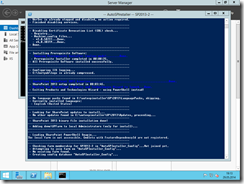
39. Some progress - coffee?

39. Some progress - coffee?

40. Green green green.

40. Green green green.

41. Creating web apps, service applications, site collections, configuration - this tool is soooo impressive.

41. Creating web apps, service applications, site collections, configuration - this tool is soooo impressive.

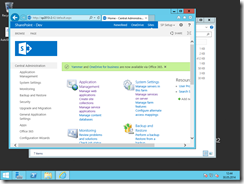
42. Voila - Central Admin opens, no red health issue thingy.

42. Voila - Central Admin opens, no red health issue thingy.

Install Visual Studio 2013 with Update 2

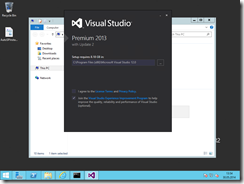
43. Installing Visual Studio is so easy, I skip the screenshots. Hit next next next.

43. Installing Visual Studio is so easy, I skip the screenshots. Hit next next next.

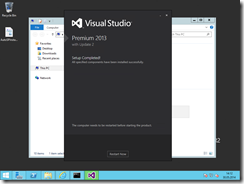
44. There we go.

44. There we go.

Install the tools

45. Installing 10 SharePoint must have tools - chocolatey is the answer!

45. Installing 10 SharePoint must have tools - chocolatey is the answer!

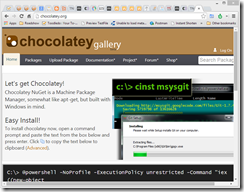
Go to http://chocolatey.org to get the package manager to install other tools. Read this post for more info. Then open a new PowerShell and copy this into it:

cinst 7zip cksdev11 dotPeek gitextensions GoogleChrome notepadplusplus SearchQueryTool SharePoint.HiveShortcut.Desktop SharePoint.HiveShortcut.Explorer SharePointManager2013 SPCAF SPSF ulsviewer cksdev2012

46: Chocolatey - sweet!

46: Chocolatey - sweet!

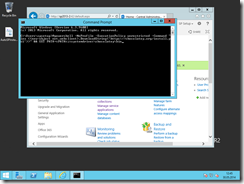
47: Go go go!

47: Go go go!

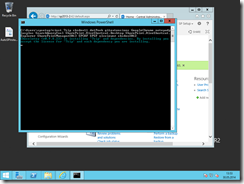
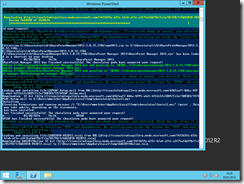
48: Green lines indicate new SharePoint Tools installed.

48: Green lines indicate new SharePoint Tools installed.

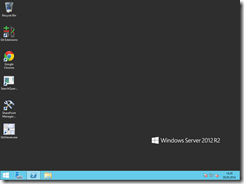
49: Voila, tools installed - actual work can start now!

49: Voila, tools installed - actual work can start now!

Closing thoughts

Well, writing and preparing this blog post took longer than the actual installation - AutoSPInstaller did a decent job, installing my “baseline” SharePoint Toolbox with chocolatey is easy - welcome brave new world! If I could focus on this 100% full time, I think I can install everything in roughly 2 hours, not bad, right?

To be honest, not everything worked like a charm during this setup - how could it? I did not prepare a thing: I had to run autospinstaller like 10 times to install SharePoint - but everytime I forgot a value and the tool was so nice to tell me what was missing - but you can always restart the tool and it continues, awesome! Additionally some of the chocolatey packages failed during install - I will try to fix some of them (you cant complain cause the tools are free, right?). There is room for improvement here.

But to close this post, installing everything from scratch was good fun!

Do you like the style of the picture post? If so, please leave a comment!

comments powered by Disqus