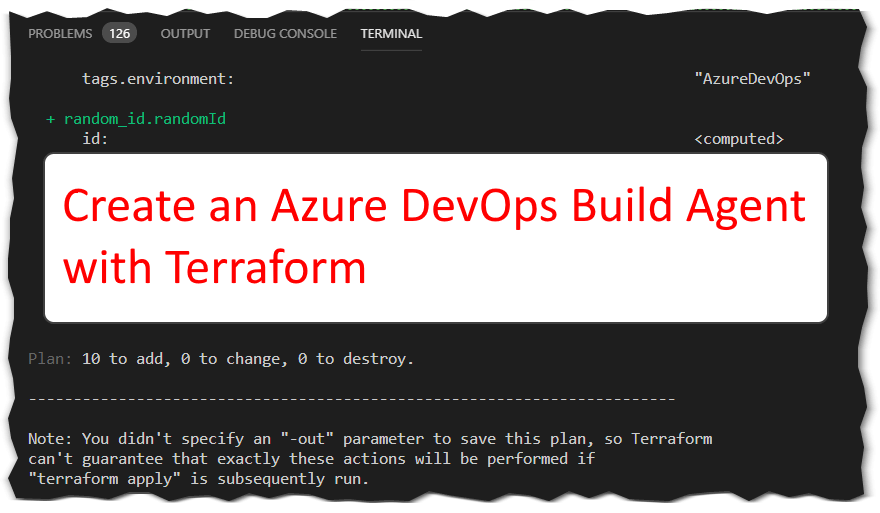
In this post I show you how to create an Azure DevOps build/release agent on Ubuntu 16.04 with Terraform.
Self-hosted Azure DevOps Build/Release agent
I am a really big Azure DevOps fan - and the out-of-the-box capabilities that you get for build/release tasks are awesome. Any language, any platform - I simply push my changes and Azure DevOps builds my codes and releases it. And for open source projects they are free:
For Windows, Linux and Mac - awesome.
So why this post? The Microsoft-hosted build agents have only one disadvantage - they come with “zero” history. When you run a new build, they have to pull down everything they need to build your source, install all non-default tools and compile. That is sometimes a time-consuming tasks that can be avoided if you can cache or pre-install tools that you need. This can be 3-5 minutes if you have a tiny project or longer than 30 minutes if you have a huge project that does npm/nuget restore heavily. And most of the time I am really impatient. Or what if you need more CPU/RAM/Storage than the Microsoft-hosted agent provides? Luckily we can bring our own build agent.
Terraform your build agent - the plan
Next up comes my terraform script that provisions a Ubuntu 16.04 VM with a default size of B1s (1 core burst, 1 GB RAM) for incredible 14.75€/month (https://azure.com/e/c584a3cedb1d47b88e50d90f7a653eb5). That can of course be customized to your needs.
I derived the terraform script from the docs.com linux how-to and added the installation of the build agent as custom script extension. The relevant change is this:
|
|
In line 12 you can see that the Custom Script Extension downloads this script from github and executes it in line 13.
#!/bin/sh
echo $@
echo "start"
cd /home/azuredevopsuser
mkdir agent
cd agent
AGENTRELEASE="$(curl -s https://api.github.com/repos/Microsoft/azure-pipelines-agent/releases/latest | grep -oP '"tag_name": "v\K(.*)(?=")')"
AGENTURL="https://vstsagentpackage.azureedge.net/agent/${AGENTRELEASE}/vsts-agent-linux-x64-${AGENTRELEASE}.tar.gz"
echo "Release "${AGENTRELEASE}" appears to be latest"
echo "Downloading..."
wget -O agent.tar.gz ${AGENTURL}
tar zxvf agent.tar.gz
chmod -R 777 .
echo "extracted"
./bin/installdependencies.sh
echo "dependencies installed"
sudo -u azuredevopsuser ./config.sh --unattended --url $1 --auth pat --token $2 --pool $3 --agent $4 --acceptTeeEula --work ./_work --runAsService
echo "configuration done"
./svc.sh install
echo "service installed"
./svc.sh start
echo "service started"
echo "config done"
exit 0
Thanks to Jasper Gilhuis’s article the configuration of the build agent was not too hard - still it took me a while to figure it out.
The agent version is currently 2.147.1 - I do not plan to update the agent regularly. If you want a newer version, please just fork [my gist] (https://gist.github.com/MaxMelcher/bfe95eb55b33fa7b9bdbf68c9ac51811).
Fixed (March, 1st): Darius commented and showed me how easy it is to stay current. So updating the agent means simply redeploying the agent. Awesome
You can get my entire terraform script here and the var file ’terraform plan’ gives you the following output:
terraform plan
Refreshing Terraform state in-memory prior to plan...
The refreshed state will be used to calculate this plan, but will not be
persisted to local or remote state storage.

------------------------------------------------------------------------

An execution plan has been generated and is shown below.
Resource actions are indicated with the following symbols:
  + create

Terraform will perform the following actions:

  + azurerm_network_interface.azuredevopsnic
      id:                                                                 <computed>
      applied_dns_servers.#:                                              <computed>
      ...

  + azurerm_network_security_group.azuredevopsnsg
      id:                                                                 <computed>
      location:                                                           "westeurope"
      name:                                                               "AzureDevOpsNetworkSecurityGroup"
      ...

  + azurerm_public_ip.azuredevopspublicip
      id:                                                                 <computed>
      allocation_method:                                                  "Dynamic"
      ...

  + azurerm_resource_group.azuredevops
      id:                                                                 <computed>
      location:                                                           "westeurope"
      ...

  + azurerm_storage_account.azuredevopsstorageaccount
      id:                                                                 <computed>
      access_tier:                                                        <computed>
      account_encryption_source:                                          "Microsoft.Storage"
      ...

  + azurerm_subnet.azuredevopssubnet
      id:                                                                 <computed>
      address_prefix:                                                     "10.100.1.0/24"
      ...

  + azurerm_virtual_machine.azuredevopsvm
      id:                                                                 <computed>
      ...

  + azurerm_virtual_machine_extension.azuredevopsvmex
      id:                                                                 <computed>
      location:                                                           "westeurope"
      virtual_machine_name:                                               "AzureDevOps"
      ...

  + azurerm_virtual_network.azuredevopsnetwork
      id:                                                                 <computed>
      address_space.#:                                                    "1"
      address_space.0:                                                    "10.100.0.0/16"
      ...

  + random_id.randomId
      id:                                                                 <computed>
      ...


Plan: 10 to add, 0 to change, 0 to destroy.

------------------------------------------------------------------------

Note: You didn't specify an "-out" parameter to save this plan, so Terraform
can't guarantee that exactly these actions will be performed if
"terraform apply" is subsequently run.
I removed a lot of lines for better readability.
There is no Network Security Group rule to allow an ssh connection - if you need to connect to the VM, you have to allow the connection e.g with Azure CLI
az network nsg rule create -g AzureDevOps --nsg-name AzureDevOpsNetworkSecurityGroup -n SSH --priority 100 --destination-port-ranges 22The execution
Let’s execute the script:
For demonstration purposes I executed the script directly in VSCode - I usually check-in my scripts to Azure DevOps and a build agent then executes the scripts there. Would be too meta, right? :)
Summary
With the terraform script above you get a naked Ubuntu VM registered as Azure DevOps build/release agent in roughly 5 minutes for a few Euros per month. Once the agent is up and running you can (and must!) configure the agent to your needs. Don’t forget to patch the agents - or destroy and recreate them regularly.
Hope it helps,
Max
p.s. If my build agents are getting old, please let me know! Fixed, see comments.
p.p.s. If you want to remove the agents, simply do a terraform destroy and then remove the agent in Azure DevOps on the agent page: https://dev.azure.com/mmelcher/_settings/agentpools?poolId=1&_a=agents
p.p.p.s. If you noted my Personal Access Token in the video - I of course invalidated that one :)


Share this post
Twitter
Facebook
LinkedIn
Email