It was winter, dark and cold outside, maybe rainy - something must have been really odd - because I started to build something physically, my very first hardware project - a magic mirror. And having two left hands I am trying to avoid as much as I can to build things outside of Visual Studio if you know what I mean… and it was July.
Magic Mirror - the idea
“It’s called a ‘Magic Mirror’, but a more accurate name would be a ‘Smart Mirror’,” Bradley tells us. “It’s a mirror that displays the information you need to know at a quick glance: the time, the date, the weather, and of course a compliment!” — https://www.raspberrypi.org/magpi/magic-mirror/
And then I talked to Heino at a SharePoint conference who told me that he had one and how easy it was to build one, getting the mirror and all that - thanks Heino…!!! 🙂
My initial goal was to build a small mirror to show off at the office - show some personalized things like appointments, news, twitter feed, weather, nothing fancy, right?
Getting started
I never thought that getting the first thing to work was so easy. Actually it took me 1 hour to have the first mirror up and running:
- Order a perfect starter kit [ref] at Amazon - with a RasberryPi3, a case, adapters,
- Plug it in and connect it to a monitor
- Boot up noobs and install raspbian
- Setup the magicmirror² software with one line of shell script: curl -sL https://raw.githubusercontent.com/MichMich/MagicMirror/master/installers/raspberry.sh | bash
4 easy steps and ~1 hour later - the result looked like this:
A promising start with a calendar, some nice descriptive text about the viewer and a weather forecast (that did not work on the screenshot) - except no SharePoint, right?
But it doesn’t look like a mirror yet…
Building the frame
I was a little bit afraid of building something out of wood, putting a mirror in front of it - so I decided to make my life as easy as possible:
Step 1: Get your old monitor out of the basement (for free!)
Step 2: Remove everything from the mirror (the foot and everything that you do not need) to get the panel as flat as possible
Step 3: Measure the width and height of the screen
Step 4: Go to building supplies store and get the wood for the frame, some screws and mirror glue
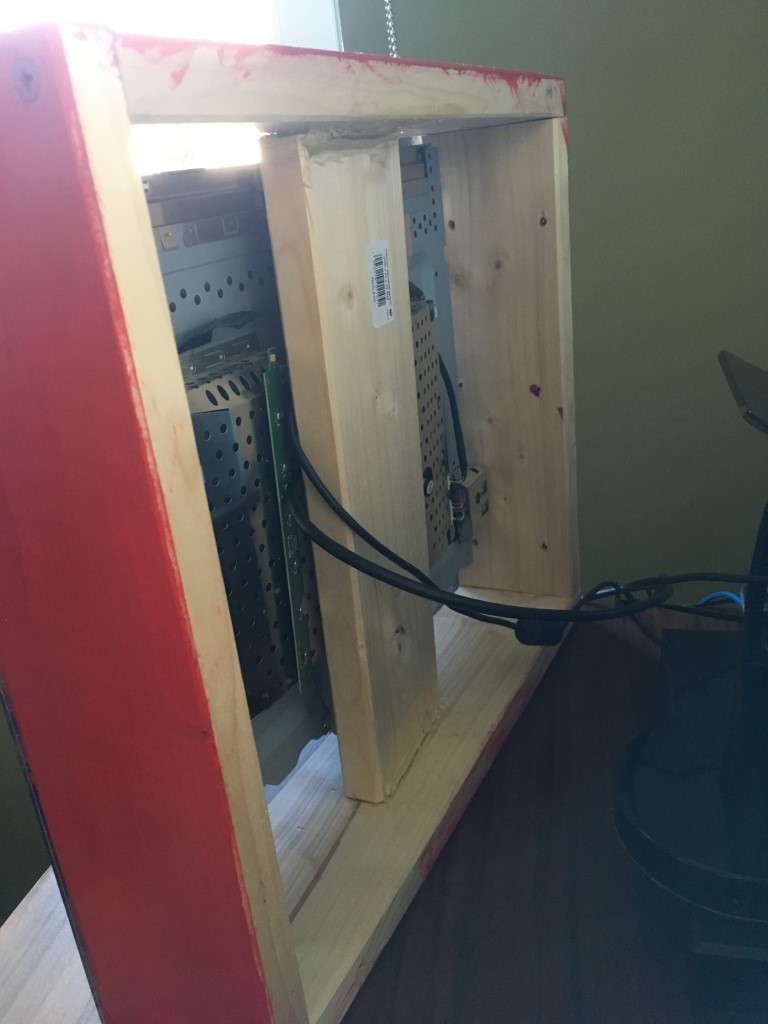
Step 5: Assemble the frame
Step 6: Order a double-sided acrylic mirror with the exact size of your frame
Step 7: Glue everything together
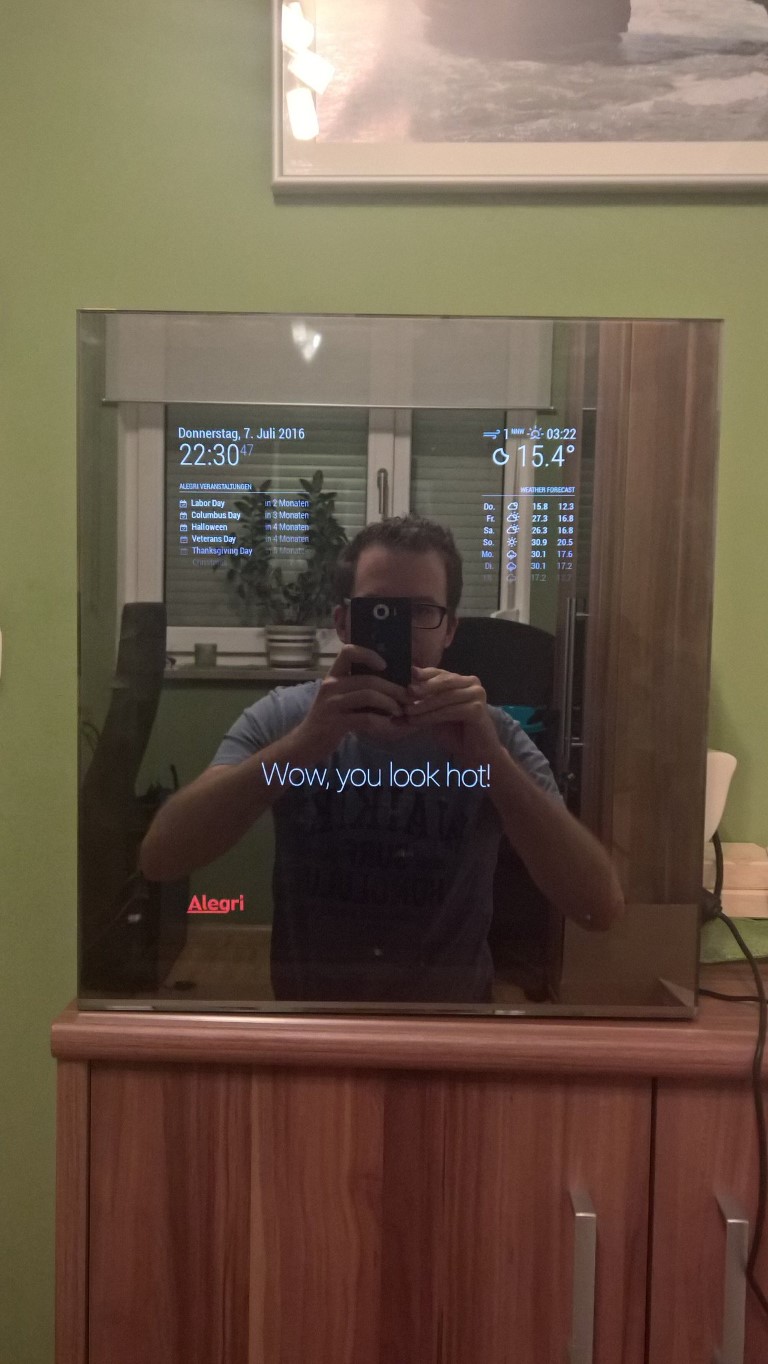
Followed by being super happy about the result:
OK - that was a little abbreviated and sounded too easy - I followed this guide and got a lot of help from the building supplies store guys - and I am thankful for that 🙂
But the quality of the mirror combined with my 10-year-old monitor is really good - if I cover the backside so that it’s entirely dark inside, the monitor is not visible on the front and the display magically appears.
The software
I tried to create some modules for a SharePoint integration - but at that time node.js and the module felt odd - so I took another road and installed Windows IoT core on my Pi - but that’s not done yet and I will follow-up with a blog post once I have something to show.
For just basic stuff the magic mirror software really looks mature, lots of modules and plugins ranging from webcams, Alexa integration, stock ticker - it’s all there and ready to use.
If the weather outside would be nice right now, I would happily accept what I get there for free - but I want to build something by myself - My version of a magic mirror 🙂


Share this post
Twitter
Facebook
LinkedIn
Email